Nate builds an amp

Redboy

Knobophobe
Site Supporter
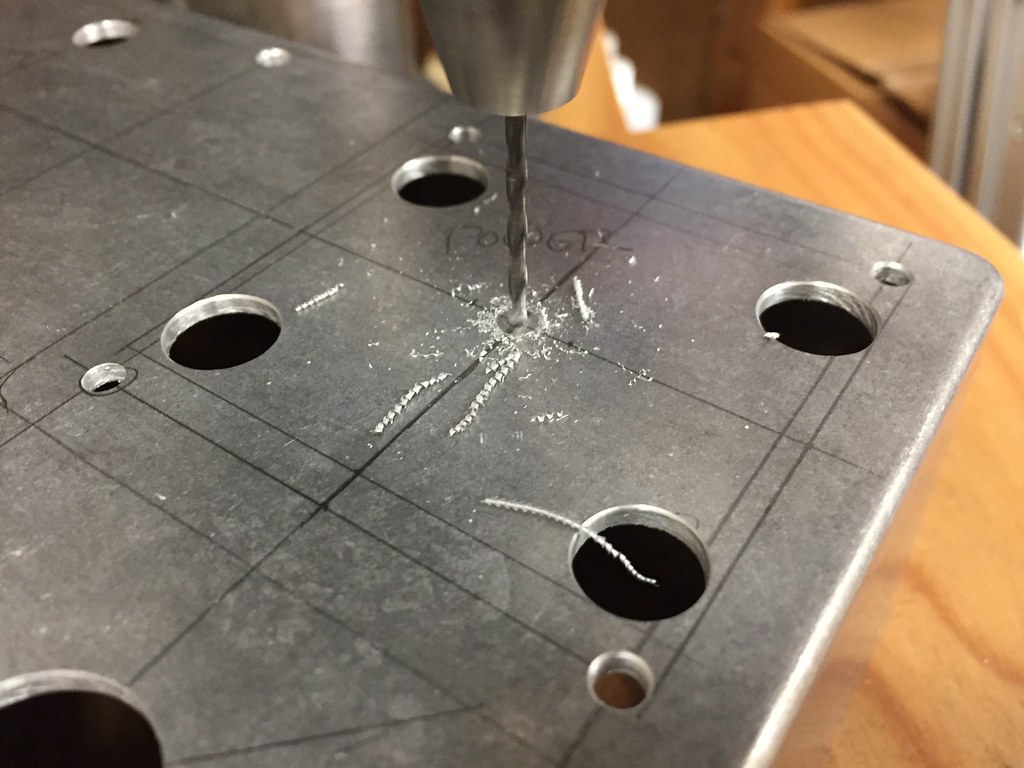
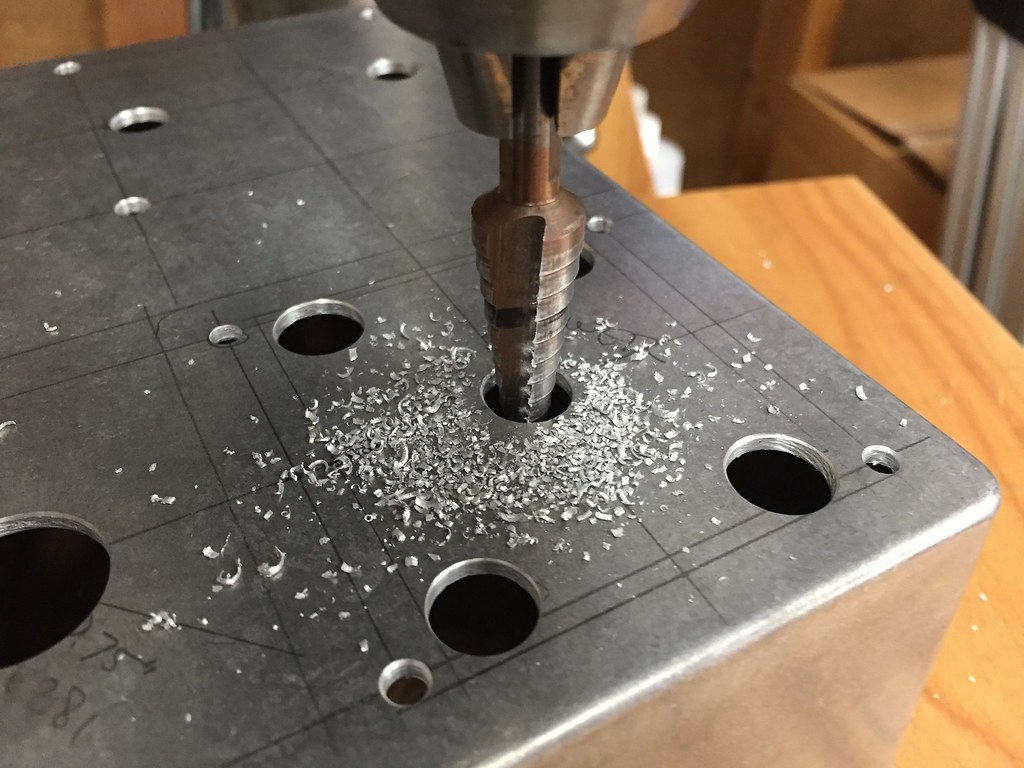
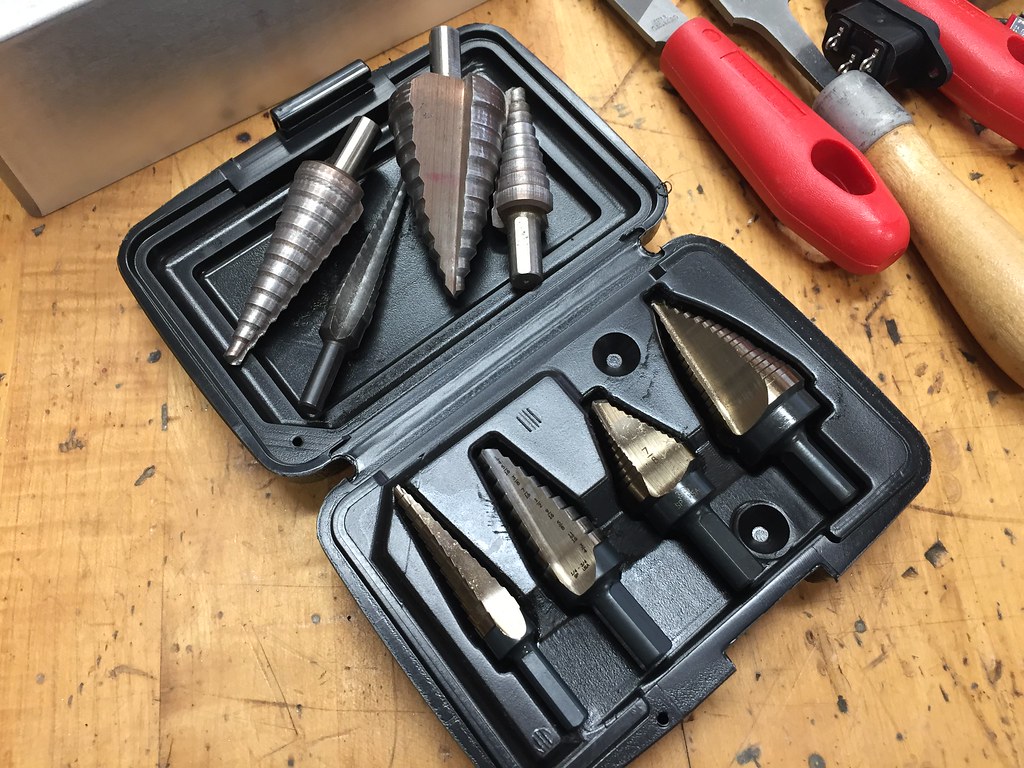
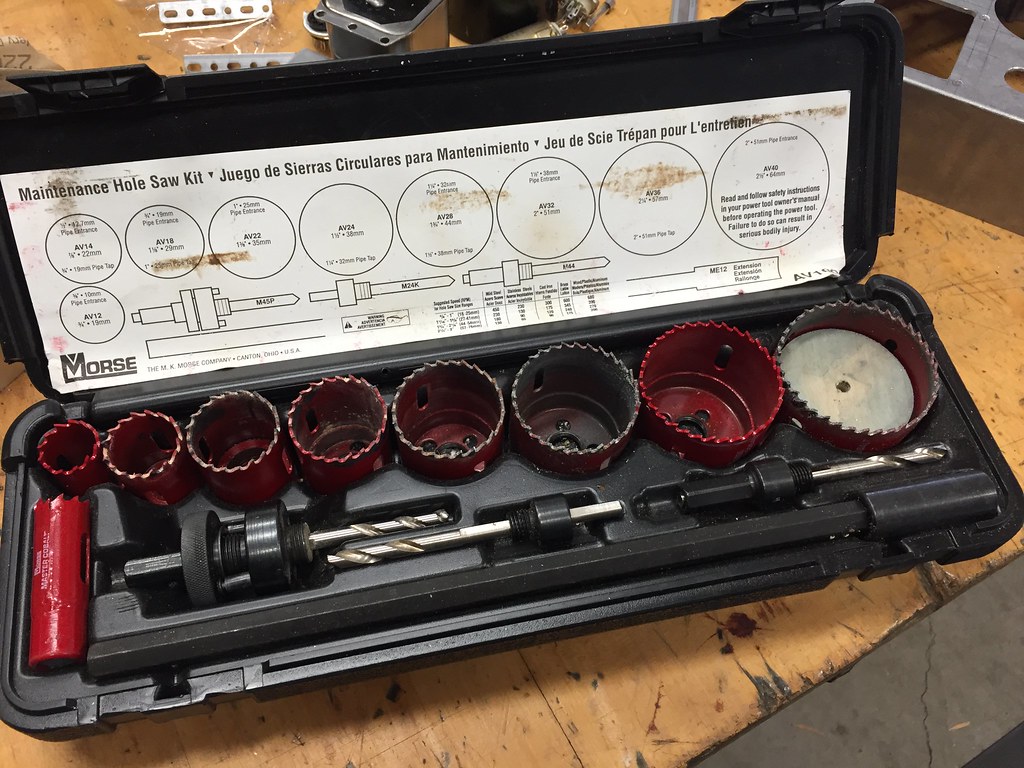
I thought I'd share a little about how I build a tube amp, or (in this case) a stereo pair of tube monoblock amplifiers.

This thread will follow a current project in real time, so you'll see delays and periods of radio silence 'cause that's how I roll. :) I will post photos and share some things I've learned, but I'm sure it'll be an incomplete documentary... I am not a very good planner, so you can expect me to miss a few photo opportunities along the way.

Feel free to ask questions along the way, but I make things up as I go so I won't always have an answer.

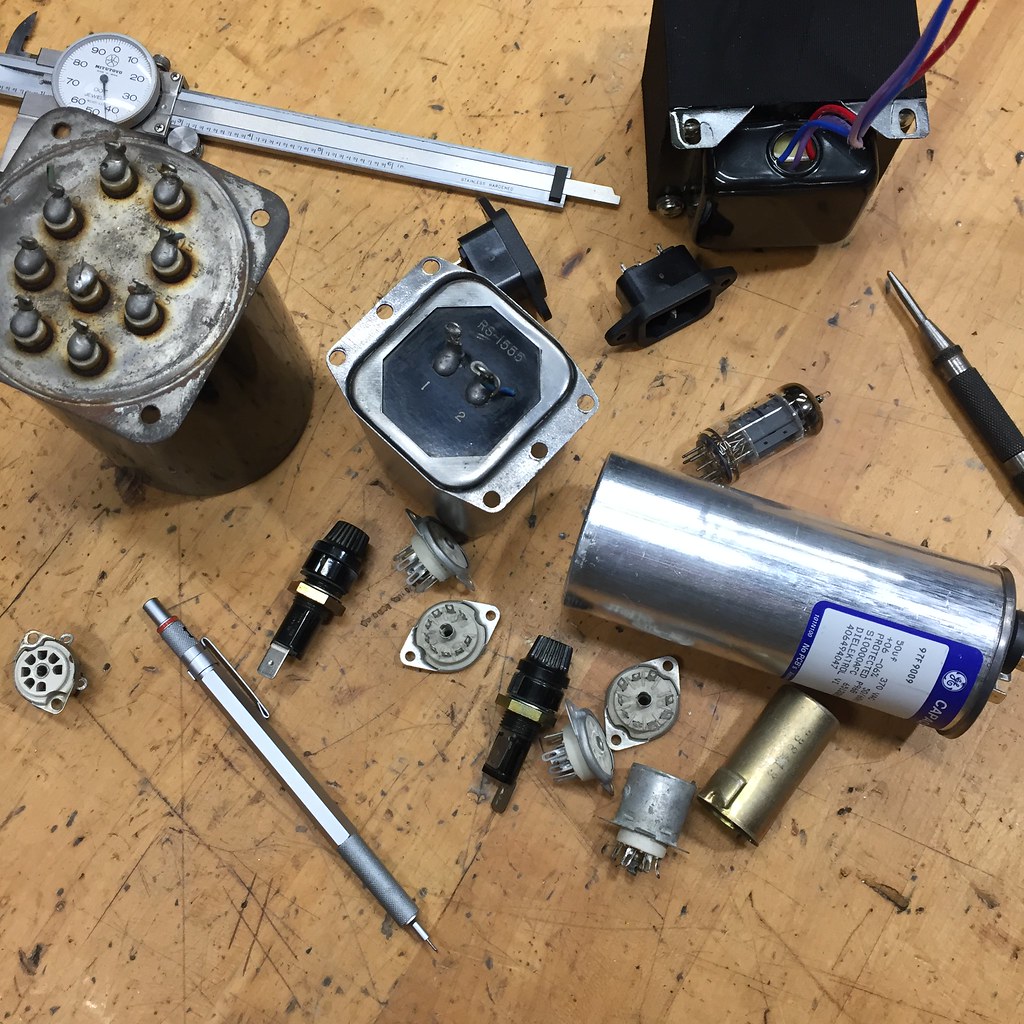
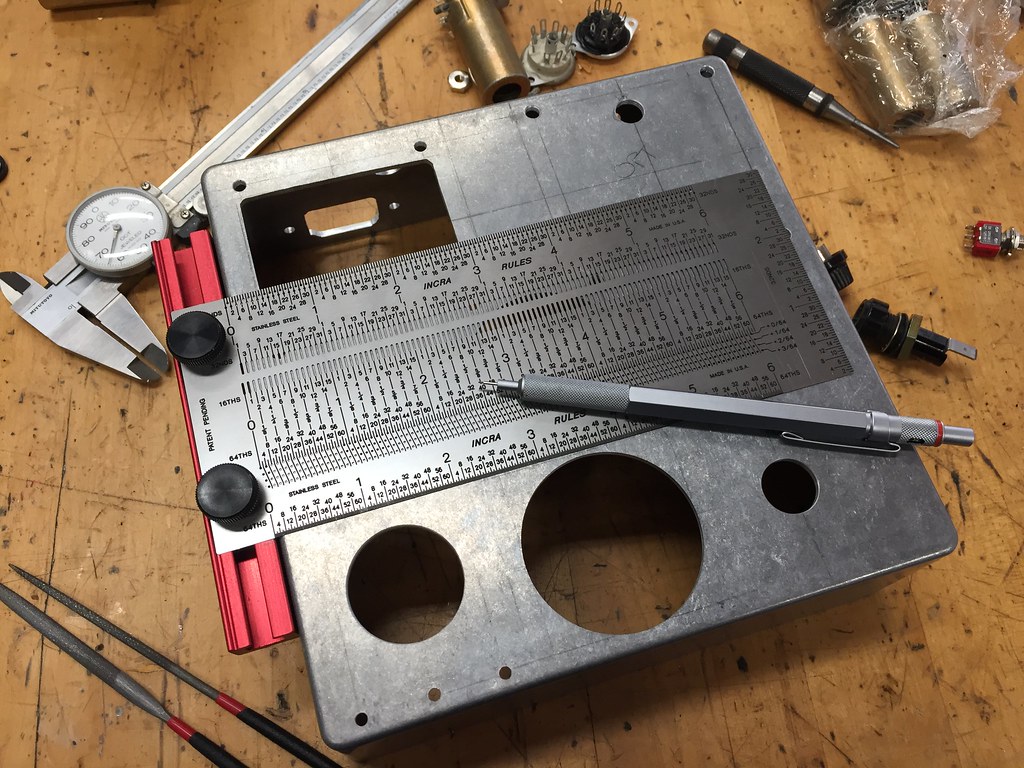
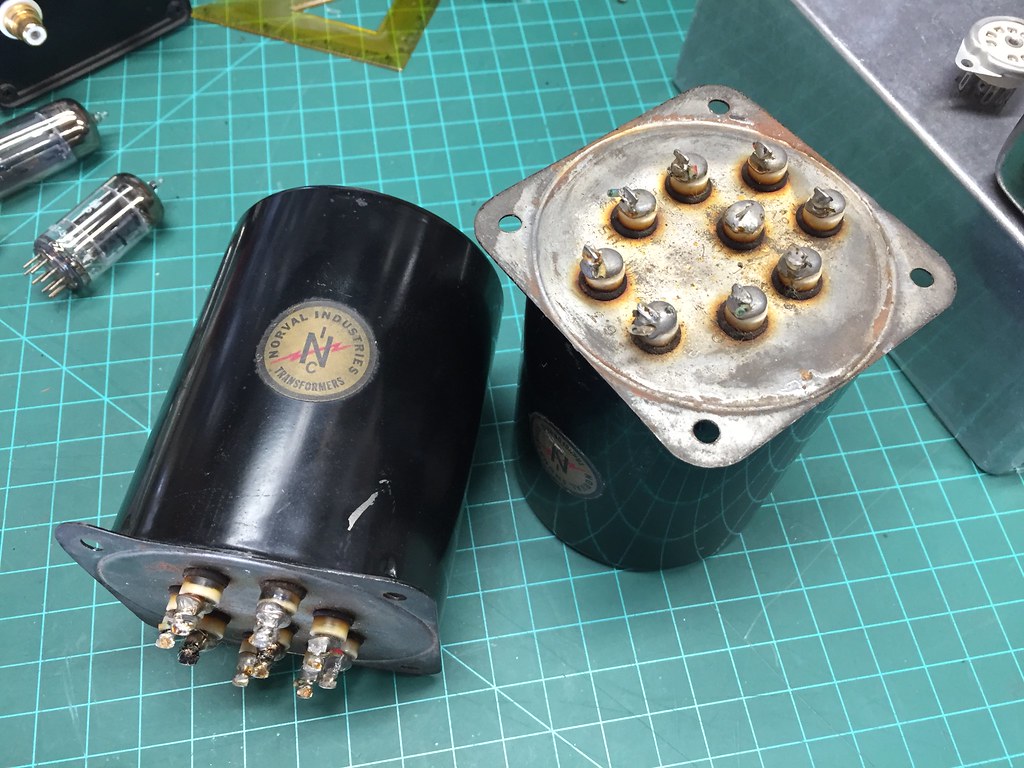
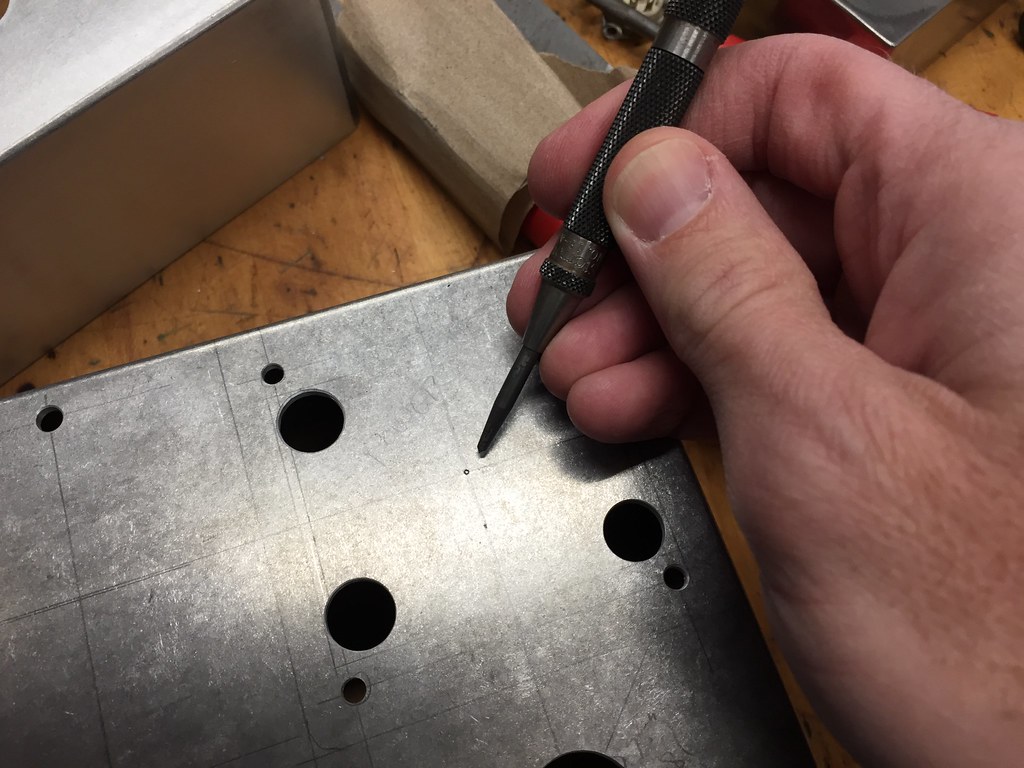
'nother thing... I have decided on a circuit and a layout, and most of the parts choices have already been made. I'm building a pair of single-ended EL84 amps here, so please don't try to turn them into something else.
 
Here's a typical start... A pile of pieces on my workbench!

37702628421_4e46f151b1_b.jpg
 
Once I know what parts I'm going to use, I like to work on layout. There are circuit constraints, of course (don't put your input jack under your power transformer), but I tend to get hung up on aesthetics.

In this case, I've already decided to use some relatively tiny (7" x 7") aluminum enclosures, so there's the additional fun of figuring out how to make it all fit...

I need to do the layout stuff in real life before I draw, so I just move things around to see how it all looks.


37196766934_4010a645c2_b.jpg
 
That's some nice iron for the EL-84! You going to post the schematic? :)
 
Thanks fellas. This could be fun. If nothing else, you guys can encourage me to stay on task... :-)

Mark, no schematic yet. I'm building Kegger's SEUL amps again but the power supply will be a little different this time.
 
Next, I do a lot of measuring and mark my chassis (or chasses) for drilling. The caliper comes in handy for making holes go where they need to go... but I still miss every now and then!

I've tried different techniques, here - taping the whole plate to protect the metal and drawing it out on the tape, or printing it on paper and sticking the paper to the chassis. Unfortunately, I make so many on-the-fly adjustments that those methods haven't worked very well for me.

Instead, I draw with pencil, right on the metal. Using a mechanical pencil and an Incra Rule like this allows for some real accuracy - I can't recommend the Incra thing highly enough!

I missed the chance to take a picture before I started drilling...


24054425548_a40375a2ab_b.jpg
 
I like that Incra rule. Pretty cool piece! SEUL will be nice. I'll follow along and push when needed. :)

What PT you using? Hammond?
 
I like that Incra rule. Pretty cool piece! SEUL will be nice. I'll follow along and push when needed. :)

What PT you using? Hammond?
No, not Hammond. I'm a fan of the older stuff and have gotten to the point where I really need to start using some of the hoard. For this project, I've got these nifty little potted things that came out of some old test equipment...

26131058449_267b412b7d_b.jpg
 
Last edited:
Here are a few things I've learned about drilling holes in aluminum...

First, there are a bunch of different kinds of aluminum, and some of them are much easier to work with than others. I don't understand the metallurgy behind it, but softer aluminums (alumini?) that bend and flex more readily are often "gummy" (for lack of a better word) and don't cut cleanly. I think the thing we're looking for in a chassis material is "machinability," which is a measure of how cleanly a metal cuts without leaving burrs and boogers behind.

These little chasses I'm using are cast aluminum. They're not terrifically strong or terribly hard, but they do cut/machine very nicely with common tools. I like 'em for that!

Next, of all the ways to cut a hole in aluminum, I have come to prefer using stepped bits. But before breaking out the stepped bit, I mark as accurately as possible (with that Incra tool), and then use an automatic center punch before drilling a pilot hole...

37197604294_618e05437d_b.jpg
 
Last edited:
Now we get to use the stepped bit...

A tube amp needs a lot of holes, and for smaller (up to 1") holes, nothing beats a stepped bit. I've got a bunch of 'em and even some of the cheapest ones work beautifully in aluminum. This is a cheap bit, and when I'm drilling a smaller hole with a cheap bit I often cheat and drill it "dry," without any cutting fluid.

37858783726_56ba746291_b.jpg


37876259632_83c0fd3b10_b.jpg
 
Last edited:
For bigger holes (larger than 1"), you'll want a hole saw. Or a set of hole saws, rather...

These Morse bimetal saws have served me well, but they're tricky to use and I have found something I like better.

37876266882_7160cd5b1e_b.jpg
 
That's some nice work. I have the SEUL schematic. Looks like you should have a lot of room in that chassis with the 50uf oilers on top.
 
For bigger holes (larger than 1"), you'll want a hole saw. Or a set of hole saws, rather...

These Morse bimetal saws have served me well, but they're tricky to use and I have found something I like better.

37876266882_7160cd5b1e_b.jpg

How long did it take you to gather all of these really cool toys? :)
 
How long did it take you to gather all of these really cool toys? :)
I like toys, but these are tools! :)

Now, more thoughts on hole saws, because you didn't ask...

The problem with hole saws is the sheer size of 'em. Because they're so big, they're difficult to control and any tiny amount of wobble is amplified, resulting in ugly ovoid or oversize holes. Not good.

A good hole saw needs to be precisely manufactured for a perfectly concentric spin, and the best I've found so far are these carbide hole cutters. They're very expensive but they are so very nice to use! I think they're worth it, and I wish I'd found them sooner.

24055337778_6591734a2d_b.jpg
 
Last edited:
Use clamps, because that's smart. And spend more time than you think is necessary getting things lined up. Measure twice, cut once, and all that...

Also, use cutting fluid here... (not seen in this pic, but trust me when I say it was there!)


37652281576_2fedae53b8_b.jpg
 
Last edited:
Back
Top